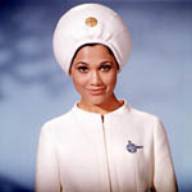
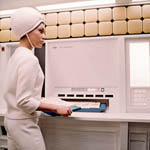
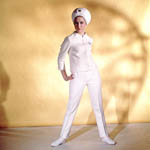
This project was to recreate the bulbous bump hats worn by the Pan Am stewardesses in the Orion and Aires space vehicles. The purpose of the bump hats was to provide head protection in case of collision with the ceiling or walls during weightless conditions. In spite of the use of the Velcro "Grip Shoes" in both the Orion and Aires, head protection was needed for added protection in case of misplaced footing. It would also help keep the stewardess' long hair under control while weightless.
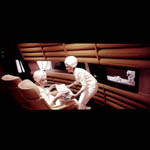
In 1965 to 1968 when the film was made, weightless conditions were something new to the world. We, the public, were not accustomed to seeing people operate in a weightless environment. At that point, the only US space vehicles that had flown were Mercury and Gemini, and they were not big enough inside to allow the astronauts to float about inside. It wasn't until Apollo that we could see someone completely weightless inside a spacecraft. The effect of performing work, as a routine condition in a weightless environment , was one way to show what the future 33 years hence would be like.To do this, Kubrick used images showing people at odd angles as well as showing the methods developed to cope with weightless conditions. Good examples of these methods are the specialized Velcro "Grip Shoes" and the bump hats.

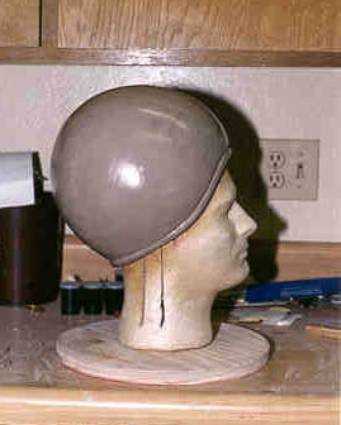
The bump hat had an outer covering of white leather, which was comprised of several panels sewn together. Based on images, coupled with the purpose of providing head protection, I concluded the hat had a shaped liner of foam rubber, over which the leather was attached. So, one of the key parts to this project is to make a molded foam rubber liner, in addition to making the pattern for the leather covering. To make the foam rubber liner, I would have to make a pattern, then make a mold of the pattern for casting the foam rubber. I decided I would use clay to make the positive pattern, then make a mold off of the clay. The pictures, which follow, document my adventure with duplicating the Pan Am, bump hat.
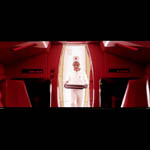
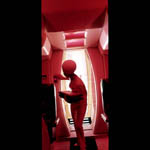

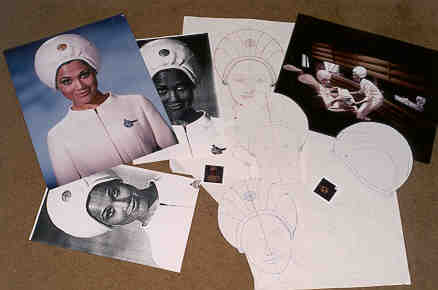
The first step in this project was to locate as many images as possible, which showed different views of the bump hat. I was able to pull together front, side and rear views of the bump hat, from both publicity images and from film images, a few of which are shown here. Both 65mm film frames and 2x2 inch publicity transparency images were used as source material.
Next, I had high-resolution scans made of the images I selected to use. Then I had photographic quality ink jet print enlargements made from the data files of the scanned images, to use as reference photos. The next step was to enlarge the front view of the bump hat until the correct size was reached. But how much to enlarge it? What was the actual size of the hat?
This project had been in the back of my mind for several years, but I could not proceed until I could insure the correct scale for the hat. Fortunately, the "Rosetta Stone" for this project came, when I obtained a round gold Pan Am logo pin button as used on the bump hat. Now I could size the hat from the size of the pin button. So I enlarged the front view reference photo until the image of the button matched the real button. Then I did an outline tracing of this and mounted the tracing onto poster board. Next I did a similar thing with the side view, since it also showed the pin button edgewise.
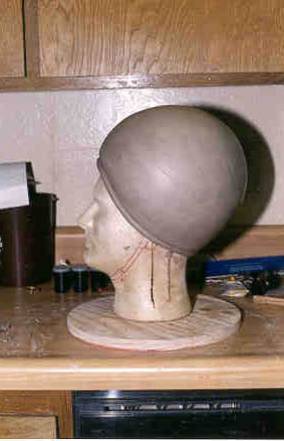
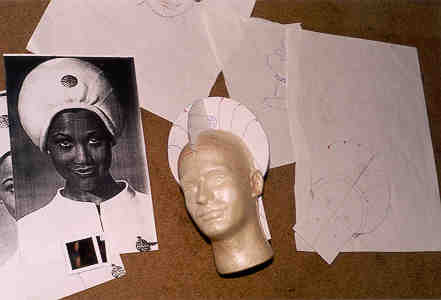
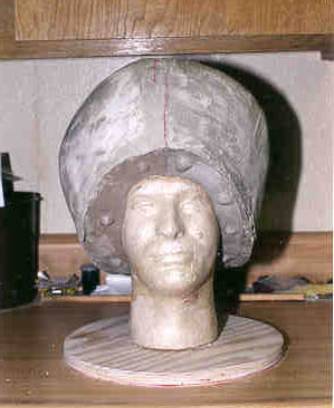
Next I had to recreate a 3-dimensional version of the helmet from my front and side views. I took a Styrofoam head and cut two slots down from the top at right angles to one another. I ended up using a male head since all the Styrofoam female heads I could find were smaller than real size. The male head is also smaller but was correct for the female head size. I fitted the front view and side view cutouts into these slots. To adjust the position of the cutouts into the Styrofoam head, I took the original transparencies and used an old 2x2 slide projector to project the image back onto the head, again using the size of the gold Pan Am bin button as the scaling key. It took many hours to set up the projector to set the correct angle and distance. The first time I set it up I started in the evening and worked all night until daybreak to get the angles correct. One projection required a distance of some 30 feet, so I ended up projecting the image out my house door onto the head setup on my balcony. After many hours of checking and rechecking measurements and adjusting the cutouts, they were secured in place on the Styrofoam head. Later I would use this same process during construction of the bump hat form to insure the shape was correct. It was kind of strange to see the flat image of the Pan Am Stewardess become 3-dimensional when projected on the Styrofoam head.
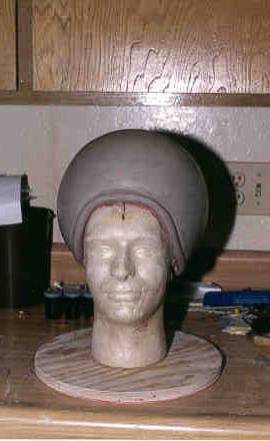
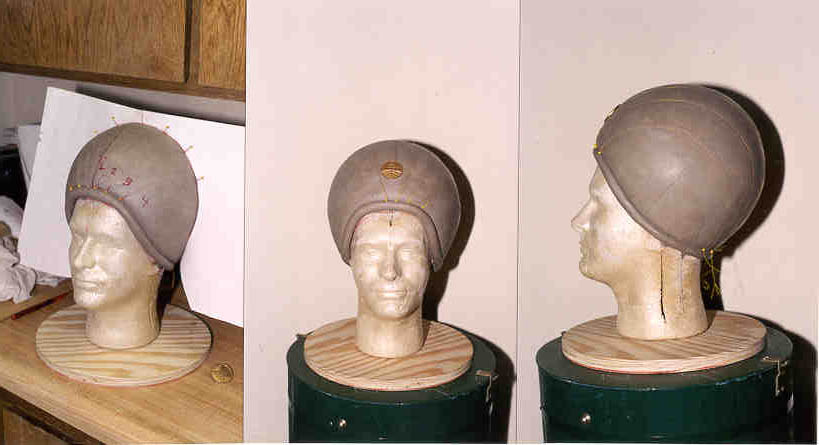
The next step was to lay-up clay over the top of the head using the outer edges of the cutouts as guides. It took a lot of working to get the clay formed into a smooth dome. I worked on this for about a week during the nights (still working my day job). When I had finished, I noticed a couple of things, first, this thing was heavy. That's a lot of clay on top of the head. Secondly, during the week that it took to do one side, then the other, the clay had started to dry out and hence had shrunk slightly. So I had to add one more thin layer over the entire dome and re-contour it.
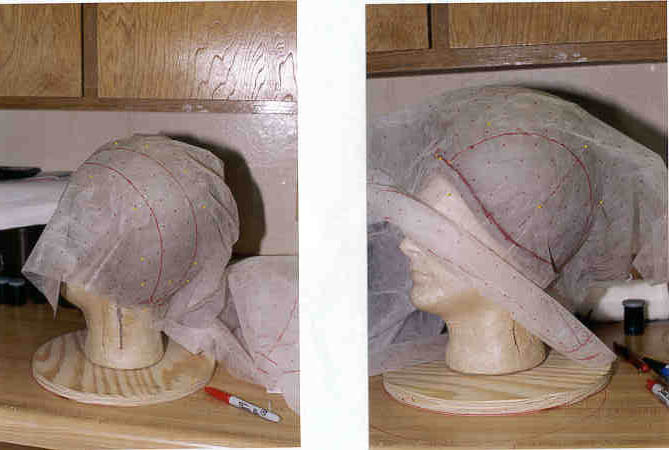
After the clay lay-up was complete, the next step was to use the dome to layout the pattern for the leather, before a mold was made, as pulling the mold off the clay will destroy the dome. Once again, I projected the transparencies of the front, side, and rear views onto the clay dome. I was able to trace the seams from the projected image onto the clay. See pictures below. I used yellow upholstery thread to lay into the clay as the seam in the leather.
Next, pattern tracing cloth was placed over the dome and the stitching pattern off the clay was transferred to the cloth. A master paper pattern was then made for each individual panel of the leather covering.
After the pattern for the leather covering was made, the clay was cleaned up and prepared for making a mold. This involved sealing the clay to provide a robust surface for the mold.
This picture shows the clay dome after coating with plastic spray coating to seal the clay.
Now, on to making the mold.
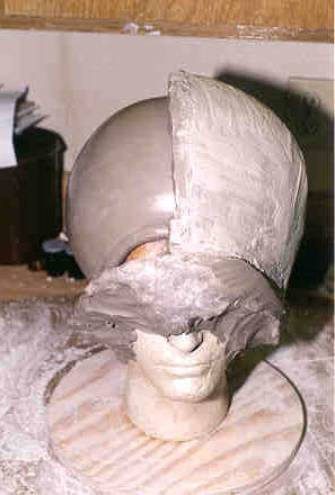
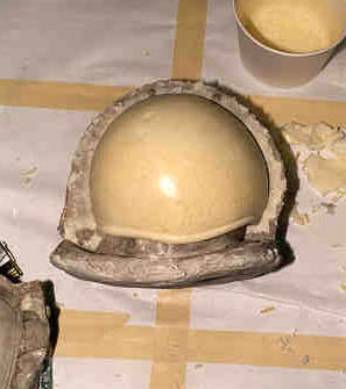
An edging, or dam, was made out of clay around each section of the dome to be molded. Then Ultracal (an extremely hard plaster) will be poured over the clay as the mold. These pictures show the clay dam around the bottom (face) edge of the dome and one dam wall going up over the top of the dome. The Ultracal has hardened.
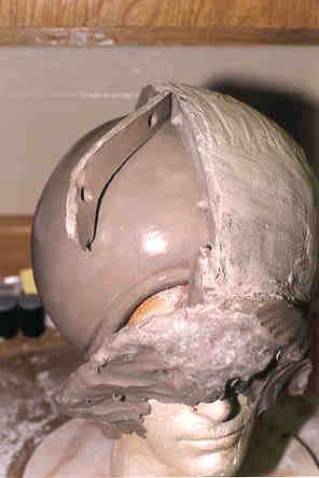
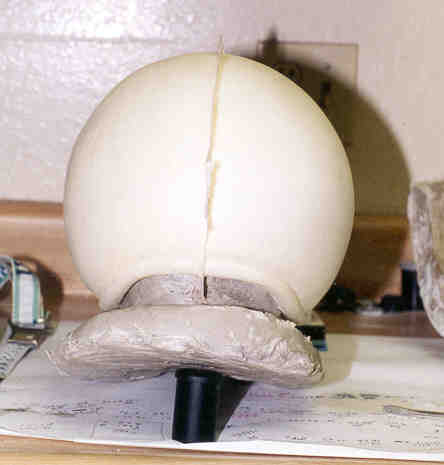
This picture shows the top dam wall being pulled off from the hardened Ultracal. Next mold release will be applied to the mating edge of the Ultracal and the remainder of the mold poured.
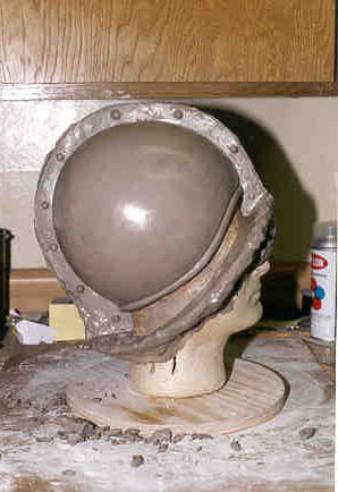
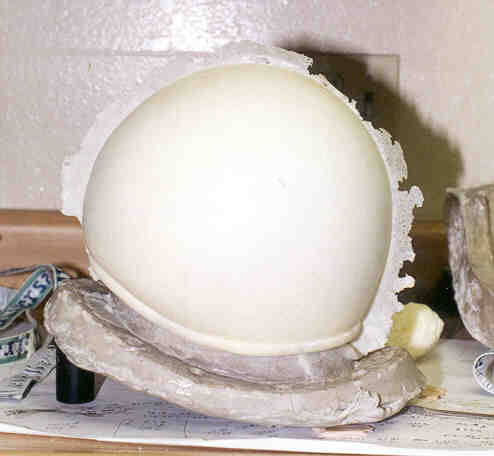
Here is a side view of the first half of the mold on the clay dome. The second half will be poured next.
This thing is really heavy now with the Ultracal over the clay, and top heavy! ( I found out the hard way...I smashed a couple of fingers when it fell over).
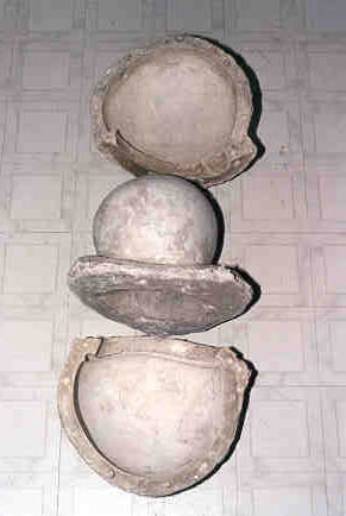
The next steps, which I forgot to photograph, were to pull the head out, and remove the clay. Both the head and clay dome were destroyed in the process. Then a liner of clay about ½ to ¾ inch thick was placed inside the cavity formed by the two mold halves. This clay will become the cavity for the foam rubber. Next more Ultracal was poured into the clay lined cavity to form the inside mold, which was in the shape of a ball.
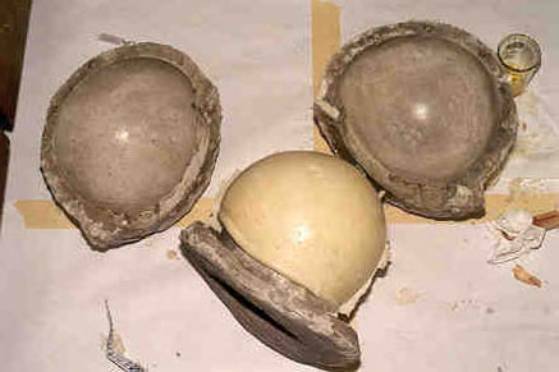
After much frustration, sweating, cursing, hammering, the three pats of the mold finally separated. The clay liner was removed resulting in the 3 piece mold you see here.
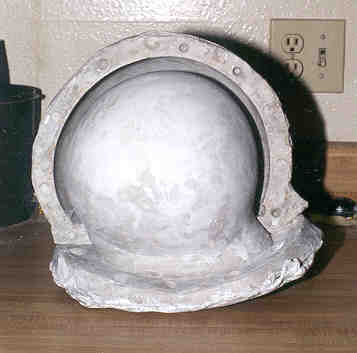
The image below shows the cavity in the mold which is formed by the inner ball part and one of the outer mold halves. The foam rubber will be poured into this cavity and then the other outer mold section attached.
After surface conditioning, and application
of mold release, the mold is ready to use for casting the foam
rubber liner.
Now the FUN begins!
Ok, so the FUN lasted all of about 30 minutes, and turned to a real pain, since this is where technique takes over.
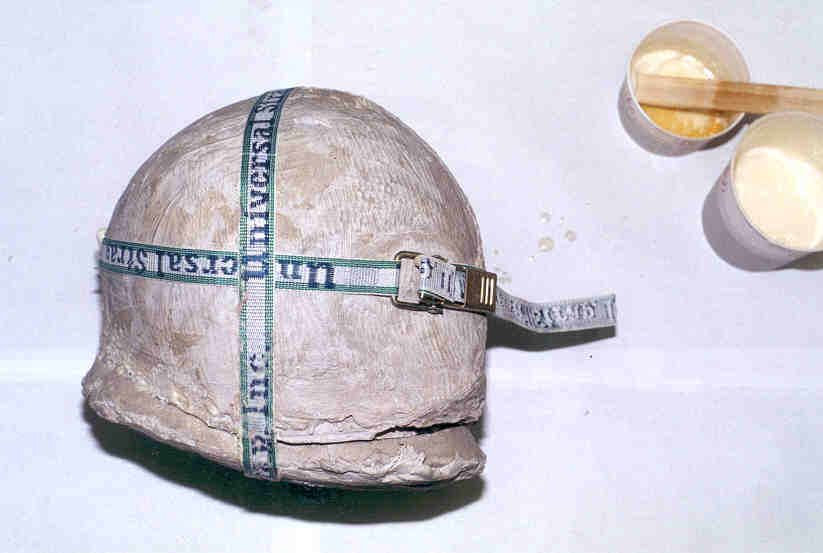
Here the rubber is curing inside the mold, after a pour. The foam is a two part mix, which starts to expand, after thorough mixing. The trick is to get the rubber poured into the mold, the mold assembled, and the mold halves clamped down before the rubber expands out of vent holes in the mold.
After much anxiety and cursing the mold finally comes apart revealing the foam rubber insert shown below.
Attention needs to be paid to details for the foam to come out right. After about 12 tries, my appreciation for this process had grown immensely.
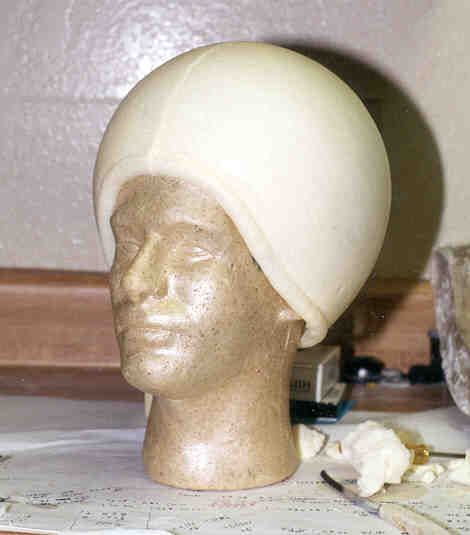
The next step is to get the foam rubber liner separated from the inner mold form and then stretch it over the ball part to free it. The difficult part is to develop a technique so that when you do successfully get it off the inner mold, it is still in one piece. Here the finished foam rubber liner is displayed on a Styrofoam head. The next step is to cover the foam with leather.
More photos of the finished bump hat to be posted soon